Common Mistakes When Crocheting Your First Amigurumi (and Practical Fixes)
Holey bodies, crooked faces, lumpy stuffing… Here are practical fixes for the problems you'll most often run into when crocheting your first amigurumi.
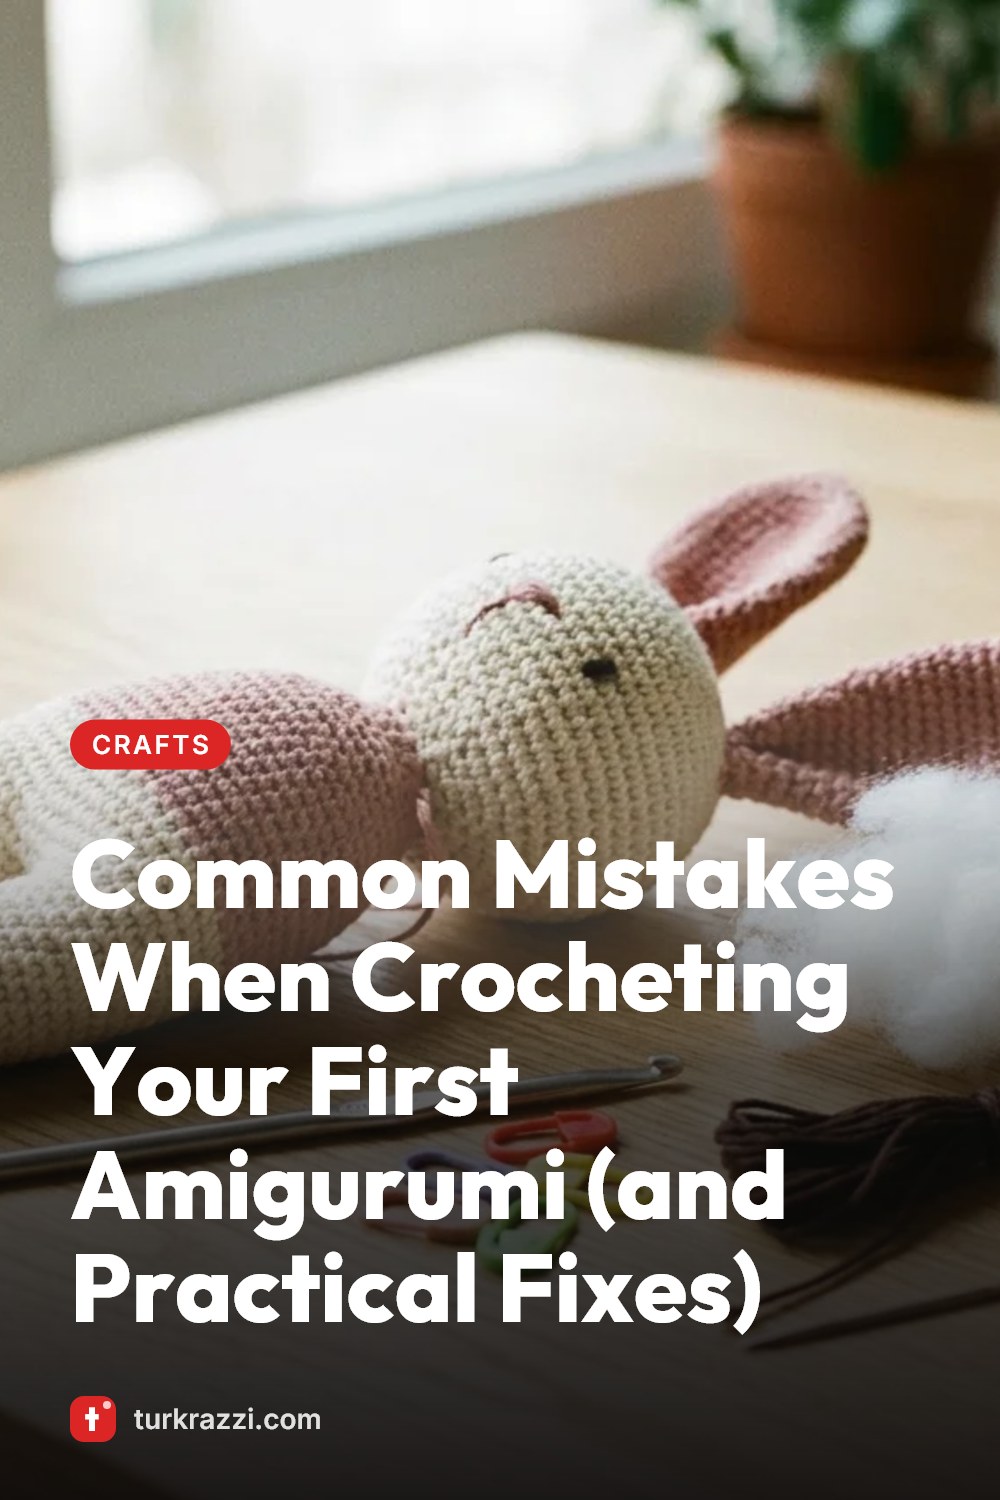
Amigurumi is the general name for small crocheted toys. Those tiny bears, bunnies and cacti you see on your screen look adorable, but your first attempt often doesn't turn out the way you expected. The body comes out lopsided, stuffing peeks through the gaps, the eyes end up looking at each other. None of this comes from a lack of talent. It comes from not knowing a few small details. Below you'll find the most common problems and how to fix them. Take a look before you crochet your first toy, and you'll save yourself a lot of frogging.
Your Stitches Are Loose and the Stuffing Shows Through
This is the most common disappointment in amigurumi. The loose fabric you use for scarves or shawls won't work here. For the toy to hold its shape, your stitches need to be tight and close together.
- Choose a hook slightly smaller than the size recommended on the yarn label. Most amigurumi makers do this.
- Hold the yarn with more control around your finger, but don't tense up. If your hand hurts, you've increased the tension more than you need to.
- Crochet a small test ball first. If you can't see white fiberfill once it's stuffed, you're on the right track.
- When it comes to stuffing: if you're using light-colored yarn, go for white fiberfill; with dark yarn, choose stuffing in a shade close to your yarn if possible. That way, small gaps are much less noticeable.
You Lose Track of Your Rounds and the Piece Comes Out Crooked
Amigurumi is mostly crocheted in a spiral. That means rounds aren't closed with a chain; you carry straight on into the next round. Because of this, it's easy to lose track of where a round begins.
- Place a stitch marker in the first stitch of each round. If you don't have one, a short piece of contrasting yarn or a safety pin works too.
- Count your stitches at the end of every round against the pattern. Just one stitch too few or too many will make one side of the piece bulge a few rounds later.
- If you keep forgetting to count, write the round numbers on a small piece of paper and cross them off as you finish each one. Simple, but it really works.
In spiral crochet, the stitches lean slightly to the right, and that's normal. As long as you take this into account when placing the face, it won't be a problem.
There's a Hole at the Starting Ring
It's very common to end up with a small hole at the starting point, at the top of the head or body. That's why most patterns recommend a method called the magic ring. You make a loop with the end of the yarn, work the first round into that loop, then pull the tail to close the ring completely.
- Don't cut the tail right after closing the magic ring. After crocheting a few rounds, pull it once more, then secure it by weaving it back and forth inside a few times with a needle.
- If this method feels tricky at first, practice by making the ring and pulling it out again a few times with leftover pieces of the same yarn. After five or ten tries, your hands will get the hang of it.
Your Decreases Stand Out
The decreases you make when closing a piece sometimes leave small bumps or holes. This is especially noticeable at the bottom of the head and at the ends of the arms.
- Try the method known as the invisible decrease: insert your hook through only the front loops of two stitches and work them together as one stitch. It leaves a much neater finish on the surface.
- Finish stuffing during the last few rounds, before you close the piece. Once the opening gets small, pushing fiberfill inside becomes difficult.
- Don't add the stuffing all at once in one big clump; add it in small pieces. If you fluff the fiberfill out a little with your fingers, it won't clump and the surface will stay smooth.
The Face Is Crooked and the Expression Looks Odd
What makes an amigurumi cute is very often its face. Even a difference of a few stitches between the eyes can completely change the expression.
- Don't fix the eyes in place right away. First mark their positions with pins or stitch markers, then look at the toy from a bit of a distance and from different angles.
- Placing the eyes a little lower and slightly farther apart usually gives a sweeter, more babyish expression. Eyes set very close together and high up create a more serious look.
- Use dark brown or black embroidery thread for the nose and mouth. Keep the embroidery minimal but clean. One or two small stitches are usually enough.
- For cheeks, you can stitch a few times with pink yarn or glue on a little pink felt.
If the toy is a gift for a baby or a little one who still puts everything in their mouth, don't use plastic safety eyes, buttons or beads. Embroidering the eyes with yarn is both safer and gives a softer look. And don't forget to sew all the pieces on very securely.
Choosing Yarn and Colors Has You Confused
For your first toy, your choice of materials will either make things easier or harder.
- Cotton or cotton-blend yarns that are smooth and not shiny show stitches clearly. That makes it easier to see what you're doing wrong.
- Save fuzzy, velvet or very thin yarns for later, not your first attempt. The stitches are hard to make out, and counting turns into torture.
- Light and medium shades make stitches easier to see. Leave black or very dark navy for a more advanced project.
A few harmonious color combinations to try:
- Cream and powder pink: A soft pairing for bunnies, lambs and baby toys.
- Sage green and mustard yellow: A warm match for cacti, ducks or small autumn-themed figures.
- Light gray and white: A stylish choice for simple designs like elephants, seals or clouds.
- Earthy brown and beige: A classic, timeless combo for bears and woodland animals.
Where Should You Start?
Don't jump straight into a doll with arms and legs for your first project. A one-piece ball, a tiny whale, a cactus or an egg-shaped chick will teach you spiral crochet, increasing, decreasing and stuffing all at once. Once you've finished that, you can move on to a bunny or bear that requires sewing on separate pieces like ears and arms.
And remember this: your first amigurumi won't be perfect, and that's completely fine. Set it aside, crochet your second one, then put the two side by side. Seeing the difference will be the thing that motivates you most.
This article and its cover image were created with the help of AI and checked by a second AI editor before publication. If you spot a mistake, write to [email protected].