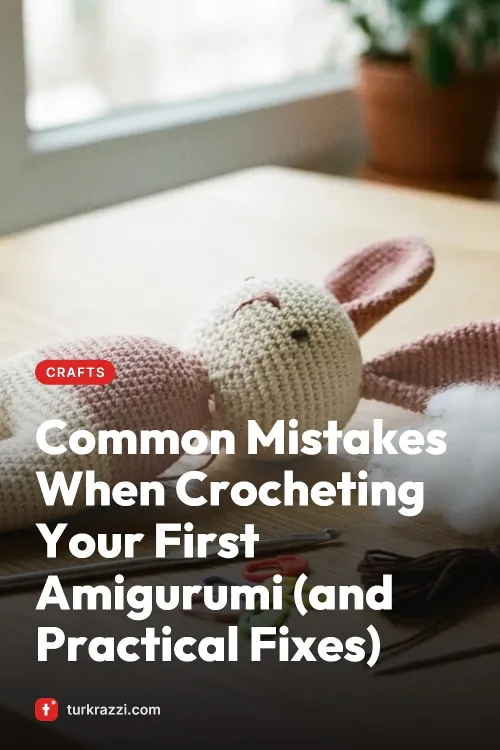
If you've got a few balls of yarn and a crochet hook, a cute little teddy bear that fits in your lap or a tiny bunny is much closer than you think. Handmade toys are a relaxing hobby for you and heartfelt gifts you can give to the people you love. Most are crocheted in a spiral using the technique known as "amigurumi". You can knit toys too, but crochet is usually considered more practical for beginners.
Ideas for Your First Project
When you're starting out, picking simple shapes with only a few pieces will keep you motivated. You could begin with:
Read more
- Little animals with round, ball-shaped bodies: chicks, penguins, kittens
- Fruit and vegetables: strawberries, carrots, avocados
- Small keychain-sized figures
- Flat stuffed mini cushions shaped like clouds, stars or hearts
Once you've got the hang of these, you can move on to dolls and animals whose arms, legs and ears are crocheted separately and then sewn together.
Choosing Yarn and Materials
Cotton yarn is a popular choice for toys. The stitches show up clearly, it holds up well to washing and it doesn't shed much. Toys made with velvet yarn turn out super soft and cuddly, but because the stitches are harder to see, they can be a bit tricky for a first project. Here are the basic supplies you'll need:
- A hook that suits your yarn weight, or even slightly smaller than recommended (tight stitches keep the stuffing from showing through)
- Fibrefill stuffing
- A stitch marker to keep track of the start of each round; a scrap of yarn in a different colour will do the job too
- A yarn needle for joining the pieces
- Safety eyes or embroidery thread for the eyes
Things to Watch Out For
The most common mistake is losing count of your rounds. When working in a spiral, make a habit of marking the start of each round. Counting your increases and decreases also helps the shape come out right.
If you don't use enough stuffing, the toy will look floppy; if you pack it in too tightly, the stitches will stretch open. Before closing up a piece, give it a squeeze, check the shape and add a little more at a time if needed.
If you're making the toy for a young child or a baby, put safety first. Instead of small parts like buttons or beads that could be pulled off and swallowed, embroidering the eyes and nose with yarn is a safer choice. Sew on pieces like ears and arms securely, and don't leave long loose yarn ends hanging.
Colour and Design Tips
Your choice of colours shapes the toy's personality. A few ideas:
- Pastel shades like cream, dusty pink and sage green for a nursery
- Bright, cheerful colours like mustard, coral and turquoise for kids
- Neutral tones like beige, grey and white for a more modern look
- Stitching a few small stitches in pink yarn on the cheeks instantly adds warmth to the face. Choose this method over paint or makeup for children's toys.
Small accessories make a big difference too. A crocheted scarf, a tiny hat or a little dress gives a toy its own personality. On top of that, it lets you create lots of different characters from the same basic pattern.
One Last Tip
Your first toy might not be perfect. A slightly lopsided ear or a slightly crooked smile often gives it a charm all its own. With every new project, your hands will get faster and your stitches will get neater. Save the patterns you love, experiment with colours, and don't be shy about designing your own little characters.