Getting Started with Architectural Photography: Seeing Buildings with New Eyes
A practical beginner's guide to light, framing, perspective and capturing details, so you can take striking photos of buildings, even with just your phone.
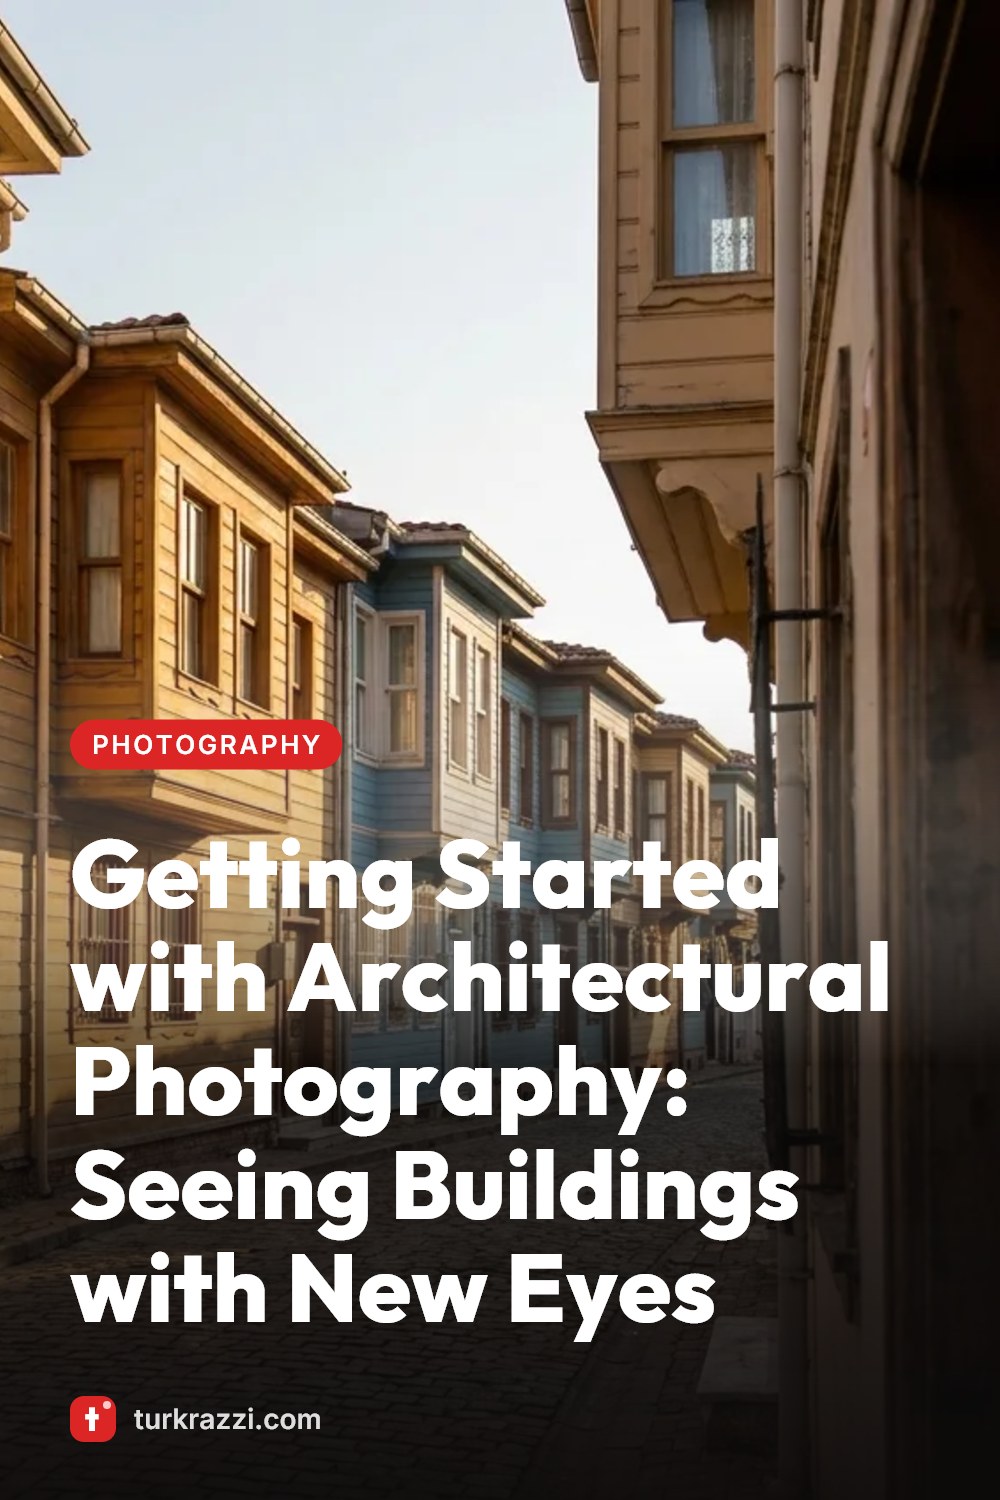
There's always a building you walk past every day. Maybe it's the old apartment block on the corner, maybe the courtyard gate of the neighborhood mosque, or maybe a wooden house with its bay window leaning slightly out over the street. Most of the time, we pass by without noticing. Architectural photography starts with breaking exactly that habit: stopping, looking and seeing what the building is telling you. You don't need an expensive camera for this. Your phone, a little patience and a few basic rules are enough.
Learn to look first, then shoot
When you approach a building, don't raise your phone right away. Walk around it for a few minutes. Ask yourself these questions:
- What makes this structure special? Its symmetry, its color, its materials, its age?
- Is the whole thing more striking, or just one part of it?
- Which surface is the light hitting right now, and which side is in shadow?
- Which elements around it add to the photo, and which ones are distracting?
This short observation will get you one frame that's worth more than ten random shots. Architectural photography doesn't like to be rushed. The building isn't going anywhere, so don't rush either.
Light changes everything
The same building shows three different personalities in the morning, at midday and in the evening. Around noon, the harsh overhead sun flattens the façade, washes out details and leaves deep, ugly shadows. That's why you should try these times instead:
- The first hour or two after sunrise and before sunset. The light comes in low and warm, bringing out the texture of stone, the grain of wood and the cracks in plaster. Long shadows add depth to the façade.
- Blue hour, the short window right after sunset. As the sky turns deep navy, the building's interior lights come on, and the warm yellow windows create a lovely contrast with the cool sky. Lean against a wall or railing to keep your phone steady.
- Overcast days. Most people don't like this kind of weather, but soft, shadowless light is ideal for details like tiles, door knockers, carvings or mosaics. Colors look more saturated and balanced.
Also think about which direction the building faces. An east-facing façade is beautifully lit in the morning, a west-facing one in the evening. If you're planning to photograph an important building, checking this in advance will save you a wasted trip.
Making peace with slanted lines: The perspective problem
The most common problem beginners run into is the building looking like it's leaning backward in the photo. When you shoot a tall structure from below by tilting your phone upward, the vertical lines converge toward the top. Sometimes this effect can be used on purpose, but most of the time it just makes the photo look sloppy.
To reduce it, you can:
- Hold your phone perfectly vertical, without tilting it up or down. Turn on the grid lines in your camera and align the vertical edges with them.
- Step back. The farther you are from the building, the less you'll need to tilt your phone. The sidewalk across the street, a staircase or a slightly elevated spot makes this easier.
- It's fine if there's extra space at the bottom of the building, since you can crop it later.
- Use the perspective correction tool found in most editing apps. You can easily fix small tilts there. Just keep in mind that if you correct too much, the edges of the image get stretched.
Use wide-angle mode carefully too. It's a lifesaver in narrow streets, but it bends the lines at the edges of the frame. Placing an important element near the center rather than at the edge gives a cleaner result.
Framing ideas: From the whole to the details
You don't have to tell a building's story in a single shot. Try putting together a small series of the same structure:
- The wide shot: A photo that shows the building along with its surroundings and tells where it stands.
- Symmetry: Mosque doors, bridges, arched passageways and old caravanserais are perfect for symmetry. Stand right in the middle and use the grid to balance both sides. Even a slight shift will stand out.
- Leading lines: A staircase, a railing, a row of arches or a cobblestone street carries the viewer's eye to the building.
- Frame within a frame: Shoot through a doorway, under an arch or through a window to give the main structure a natural frame.
- Details: Door knockers, wood carvings, iron railings, tile patterns, worn layers of paint. A close-up sometimes says more than the whole building.
- Scale: To show the size of a massive structure, include a small figure in the frame from a distance. The silhouette of someone walking by instantly conveys the building's true size.
- Reflections: Puddles after the rain, glass façades or a calm water surface flip the same building upside down and offer a whole new composition.
Modern or historic? They speak different languages
In historic buildings, texture and color take center stage. The warm tones of stone, the weathered look of plaster and the darkened patina of wood tell a story. Warm light and close-up details work well here. A street in Safranbolu or an old Aegean village is a wonderful school for capturing color and the traces of time.
In modern buildings, on the other hand, line, geometry and repetition stand out. On glass and concrete façades, look for rows of windows, sharp angles and the patterns created by shadows. These kinds of photos often become even stronger when converted to black and white. When color isn't distracting, form comes to the fore.
Shoot respectfully and mindfully
Architectural photography often takes place where other people live, worship or work. A few simple rules of courtesy will keep both you and those around you comfortable:
- At places of worship, be mindful of prayer times, stay quiet inside and find out whether taking photos is appropriate.
- Don't enter the garden or courtyard of private property without permission. Avoid photographing through windows into people's homes.
- Don't block the way in narrow streets, and watch out for traffic and pedestrians.
- Some public buildings and protected sites may have photography restrictions. Pay attention to warning signs.
One last tip: start in your own neighborhood. Before traveling to faraway cities, pick five different buildings on the street you walk down every day and photograph each one at a different time and from a different angle. After a few weeks, you'll be surprised at how your eye has changed. Buildings will no longer be just a backdrop. You'll see that each one has a face, a character and a story to tell.
This article and its cover image were created with the help of AI and checked by a second AI editor before publication. If you spot a mistake, write to [email protected].